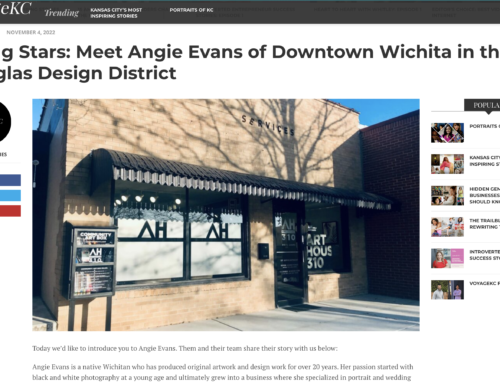
ArtResin for Depth in Artwork

By Angie Evans
Recently, I wanted to try adding depth to my alcohol ink work by adding another layer of paint on top of the finished alcohol ink piece. I’ve done this in the past by using Posca pens to draw linework directly on the resin but I wanted something a little more than just linework. I used my Cricut to cut some stencils and decided to give that a try! I use primarily birch panels for my paintings. Thanks to the #bossman for building the majority of them! I like to mask off the edges to keep a finished natural look. After the base alcohol ink layer, I peel off the masking from the sides of the panel and mask off the bottom edges to eliminate drips from the resin. For the base painting, I used an assortment of blue and teal alcohol inks on a white primed base color. I added some brassy metallic ink to add some sparkle and shine!


Once the base painting was finished and dry, It got sealed with a couple layers of Kamar Varnish. I was ready to add my first layer of ArtResin! I truly love this resin! It has a shine that can not be achieved with any other type of finish. It’s non-toxic when used as directed and it’s specifically formulated for art, by artists! It blows all other resin out of the water on it’s non-yellowing tests. One of the most important things to remember with resin is to get your piece level before starting to apply resin. I like to use these plastic cups to elevate the piece. Any resin drips can be peeled off and the cups reused. It’s a 1:1 mixing ratio so it’s super easy to use and the peeps over at ArtResin have loads of information to help you get the best results!


A couple days later, I was ready to stencil! I wanted to use an ocean theme to go along with the blues and teals in the base painting. I got my stencil lined up and starting applying paint. I learned a few things during this process. The resin is a bit too slick to just apply the stenciling so I had to take a medium grit sanding block to the resin and scuff it up just enough to have some tooth for the paint to stick to without sliding around. Originally, I wanted to use a Posca pen to draw in the stencil area but the liquid paint in the pen started to bleed under the stencil material. In the end, I used a firm stencil brush.


Putting this paint layer on top of a resin layer creates a “floating image” appearance. You can see the light create shadows in the resin later and you can almost see around the top design. It’s really neat to be able to change the appearance of a piece with the changes in light and light direction. If you know anything about me, you may know that I was (occasionally still am) a photographer so the way the light moves is my nerd-brain stuff!


After the paint layer dried, it was time for another layer of resin! This is exactly the same process as the initial resin layer.


Another day or two to let the resin dry and cure out and it’s ready to finish!! I peel off the backing tape and clean up any rough edges on the back, add hardware and sign the back and it’s finished! I just love how this piece turned out! I love seeing it change with the changing light and I love seeing the design dance on top of the colorful background!!


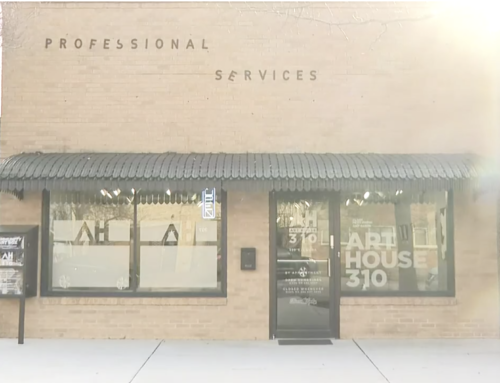
ArtResin has completely changed my art practice! I love the versatility of resin and I love seeing all the things that can be created using ArtResin! Art House 310 is an authorized retailer for ArtResin. Keep your eyeballs peeled for art workshops, including resin workshops, being scheduled toward late summer!
XOXO – Angie Angie Evans Fine Art at Art House 310 310 S. Laura Wichita, KS 67211
www.AngieEvansFineArt.com Facebook: @AngieAwesomePants Instagram: @AngieAwesomePants Redbubble Shop: Redbubble.com/People/AngieEvans Learn more about our Resident Artist, Angie Evans here!

